


Looking for a reliable way to securely hang a hook on a brick wall? Follow this easy guide to install the HomeHand heavy-duty cup hook on masonry surfaces. This step-by-step process ensures your hook is securely anchored and capable of supporting substantial weight like artwork, tools, or flower baskets.
Tools and Materials You'll Need
※ HomeHand Cup Hook with Nylon Plug Kit
※ The drill bit is included in the packaging.
Step-by-Step Installation Guide
1. Drill a Pilot Hole
Start by drilling a pilot hole in the brick wall. Use a masonry drill bit with a minimum panel thickness of 8 mm. The recommended depth for the hole is 60 mm to ensure secure anchorage. If possible, aim to drill into the mortar lines between the bricks, as this may provide a more stable base.
2. Insert the Nylon Plug
Once the pilot hole is drilled, insert the nylon plug into the hole. It should fit loosely, allowing space for the screw. The anchor will expand and tighten once the screw is installed, securing the hook in place.
3. Attach the Cup Hook
Next, insert the screw into the lag shield anchor. As you tighten the screw, the anchor will activate and grip firmly inside the hole. Once the screw is fully tightened, your HomeHand cup hook will be securely fastened to the brick wall.
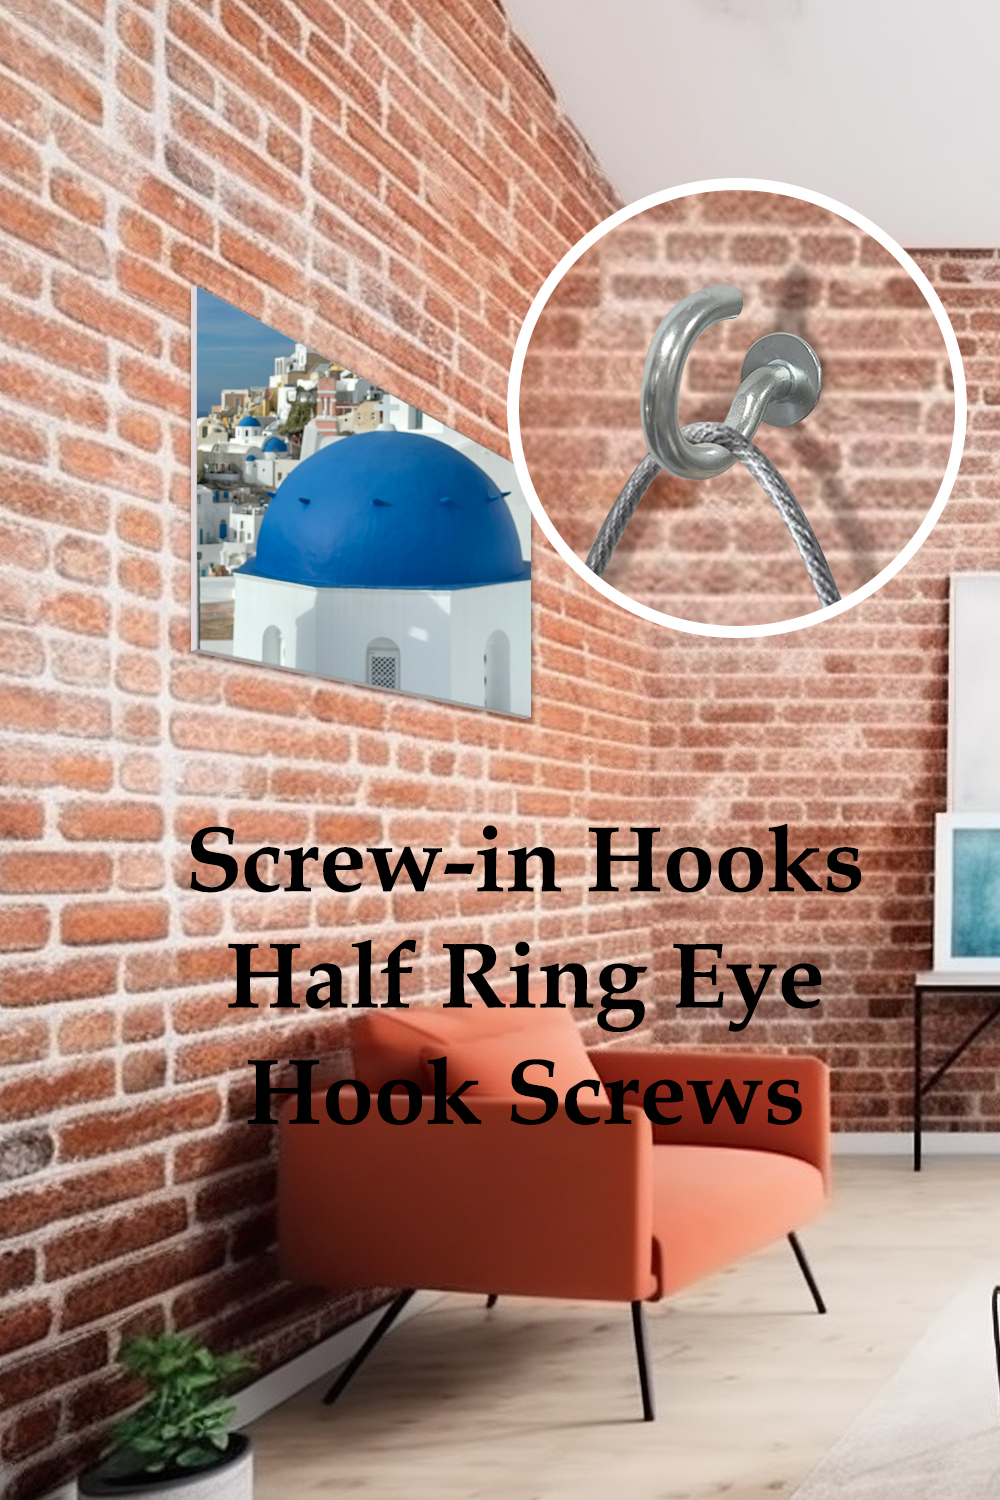
This method ensures that your hook is firmly anchored into the masonry, making it capable of supporting heavy items like large paintings, motion detectors, or hanging plants. The lag shield anchor is designed to expand within the brick, providing a tight and secure hold that won’t loosen over time.
For a detailed, visual walkthrough, we recommend checking out an instructional video that demonstrates this installation process in full.
Order your HomeHand heavy-duty cup hook today and upgrade your space with secure, stylish hanging solutions!