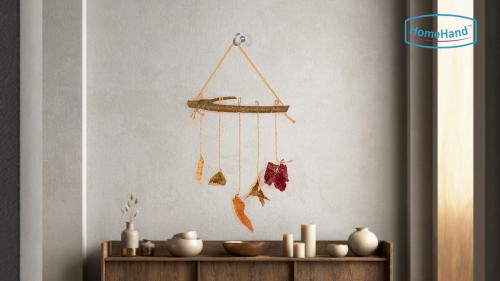
When it comes to enhancing your space with cup hooks, understanding the installation techniques for various wall materials is crucial. Proper installation not only ensures that your hooks remain secure but also optimizes their functionality. HomeHand offers a complete cup hook and nylon plug kit designed to simplify this process, providing everything you need for a successful installation. Here’s how to install cup hooks effectively on different wall types.
Installing on Harder Materials: Cement and Brick Walls
For walls made of harder materials such as cement or brick, a careful approach is essential:
※ Drill Pilot Holes: Start by selecting the appropriate drill bit for your wall type. A hammer drill works best for brick. Drill holes at your desired locations, ensuring they are deep enough for the nylon plugs included in the HomeHand kit.
※ Insert Nylon Plugs: After drilling, insert the high-quality nylon plugs into the holes. These plugs expand when screws are inserted, providing a strong anchor that prevents loosening over time—ideal for hanging heavier items.
※ Install the Cup Hook: Once the nylon plugs are securely in place, attach the cup hooks by driving screws into the plugs. Ensure they are tightened firmly for maximum stability.
Installing on Softer Materials: Wooden Boards
For softer materials like wooden boards, the installation process is simpler but still requires attention to detail:
※ Pre-Drill Small Holes: To prevent the wood from splitting, pre-drill a small pilot hole at the installation site. This allows screws to enter smoothly without excessive torque.
※ Direct Installation: After pre-drilling, you can install the cup hooks directly into the wood. However, for enhanced stability, consider using the nylon plugs from the HomeHand kit, which provide extra grip.
※ Prevent Loosening: While direct installation is possible, using nylon plugs can significantly improve stability. This extra measure will help prevent loosening over time, especially in high-traffic areas.
Key Installation Tips
※ Choose the Right Hardware: Always select screws and anchors compatible with your wall type and the weight of the items you plan to hang.
※ Use a Level: For a polished look, ensure that your cup hooks are level before securing them completely. This simple step enhances the visual appeal of your installation.
※ Regularly Check Stability: After installation, periodically check the stability of your hooks and tighten them as needed to maintain security.
By following these expert tips for installing cup hooks with the HomeHand cup hook and nylon plug kit, you can achieve a durable and aesthetically pleasing result tailored to your walls.
Enjoy the benefits of a well-organized space with your new, securely installed cup hooks!


